Appearance
Importing Data
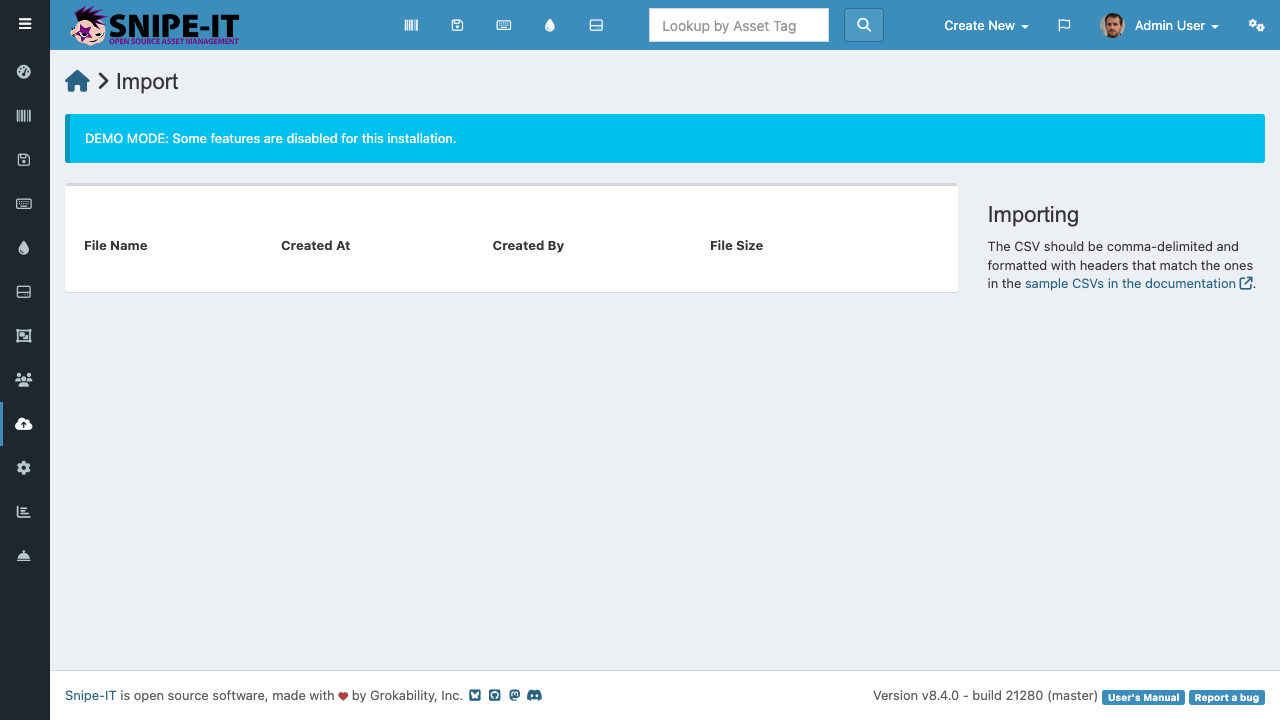
The Import feature lets you bulk-load data into Snipe-IT from CSV files. This is especially useful during initial setup or when migrating from spreadsheets or another asset management system.
Supported Import Types
You can import data for all major categories:
- Assets — Hardware inventory with tags, models, serials, and assignments
- Licenses — Software licenses with seats and keys
- Accessories — Peripheral items with quantities
- Consumables — Expendable supplies
- Users — Employee records with departments and locations
How to Import
- Navigate to the Import section from the left sidebar
- Click "Select Import File" and choose your CSV file
- Map the columns in your CSV to Snipe-IT fields
- Review the mapping preview to confirm data looks correct
- Click "Import" to process the file
CSV Format Requirements
Your CSV file should:
- Use the first row as column headers
- Include at minimum the required fields for each type (e.g., Asset Tag for hardware)
- Use UTF-8 encoding for special characters
- Keep one record per row
Import Tips
- Start small — Test with a few rows before importing your full dataset
- Check for duplicates — Snipe-IT warns about duplicate asset tags or serial numbers
- Required fields vary — Assets need an asset tag and model; users need a username and name
- Dates — Use a consistent date format (YYYY-MM-DD is recommended)
Handling Errors
If rows fail to import, Snipe-IT displays the specific errors for each row. Common issues include missing required fields, duplicate entries, or invalid data formats. Fix the errors in your CSV and re-import the failed rows.