Appearance
User Management
The Users section manages everyone who interacts with your asset inventory — employees who have equipment checked out, IT staff who manage assets, and administrators who configure the system.
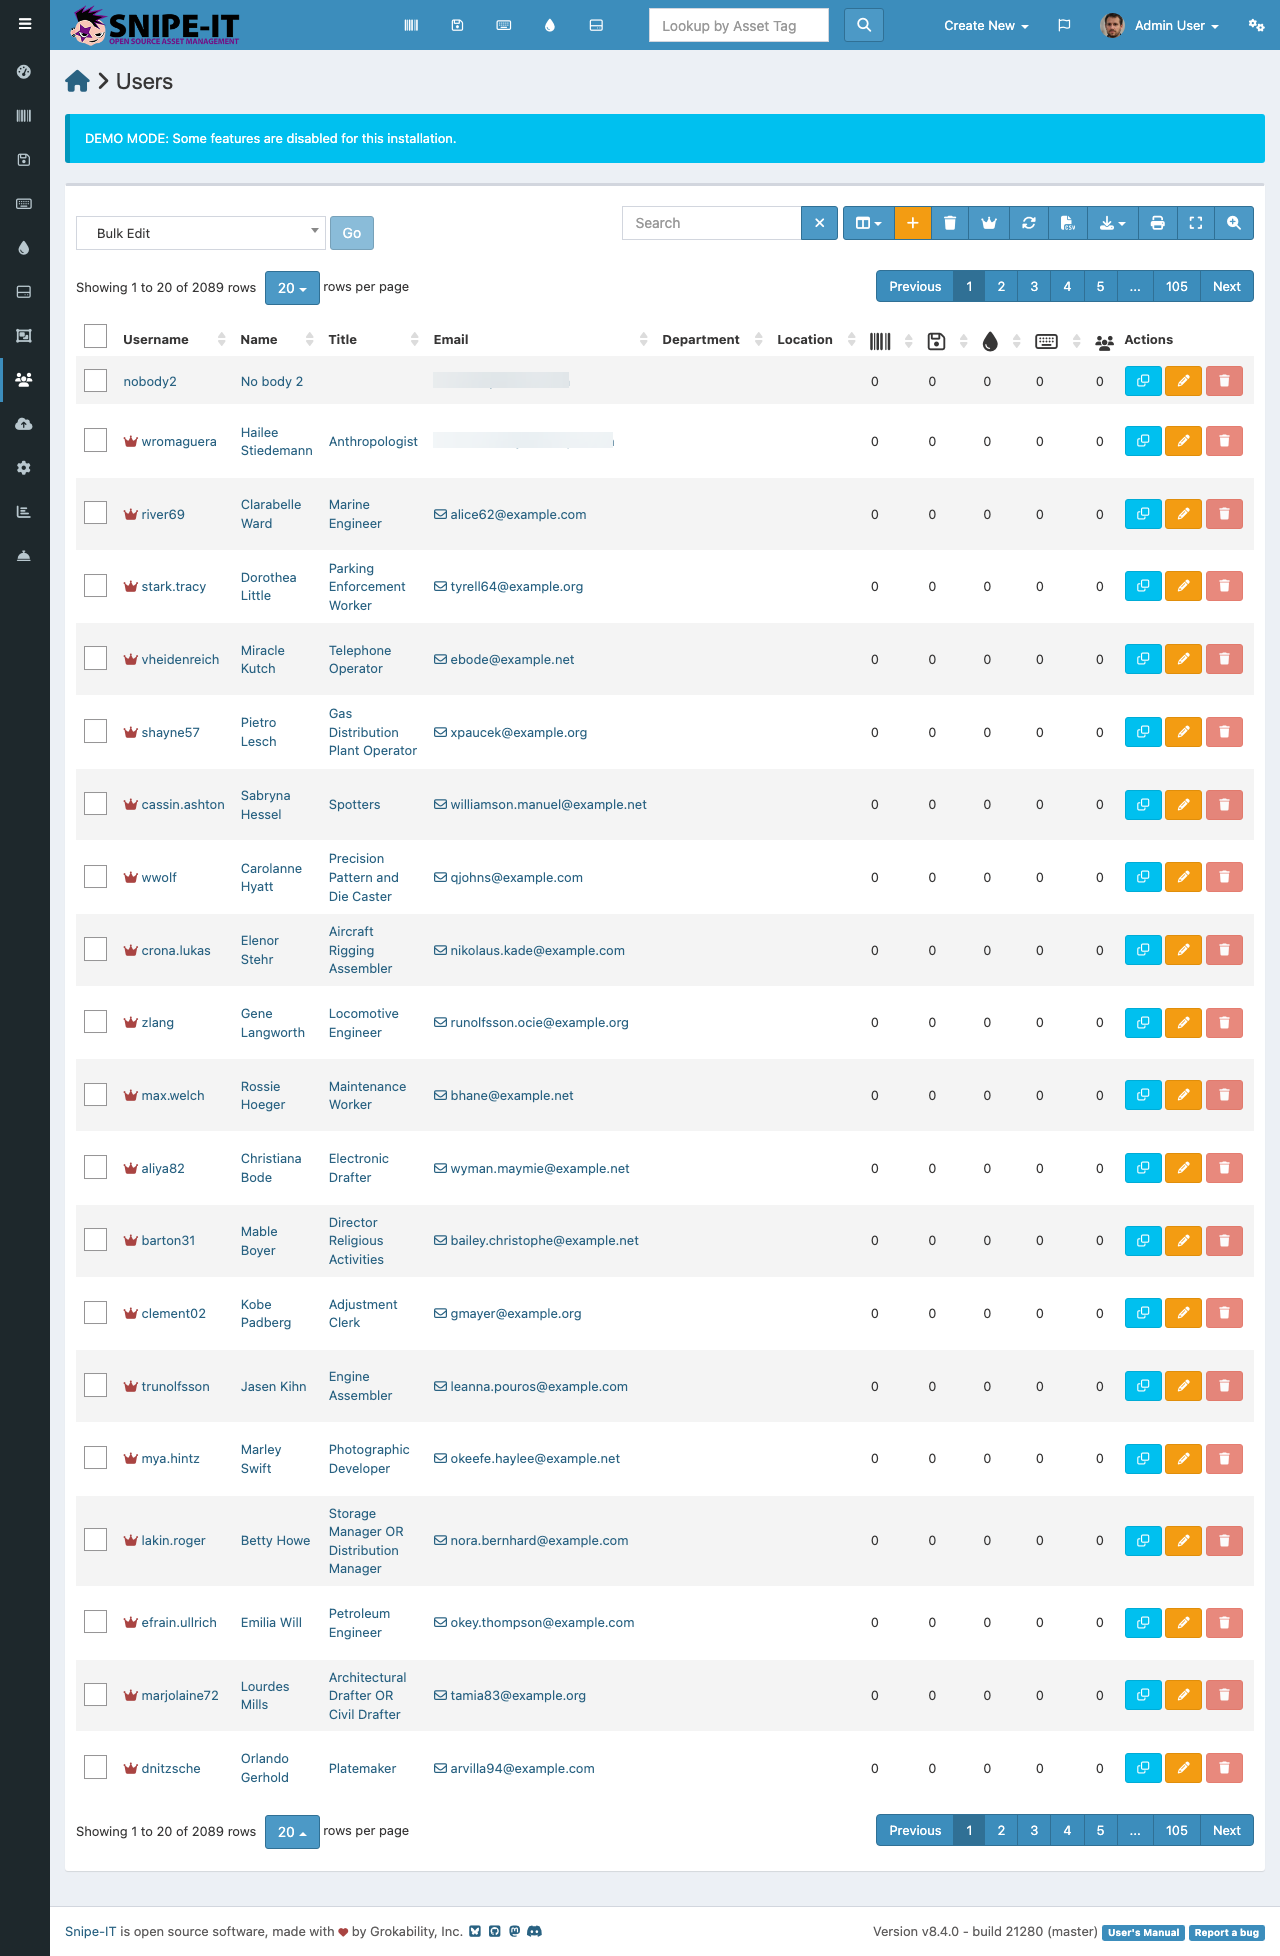
User List
The users page displays a searchable, sortable table with:
- Name — The user's full name with avatar
- Username — Login username
- Employee Number — Your organization's employee ID
- Department — The user's department
- Manager — Their reporting manager
- Location — Primary office location
- Assets — Count of assets currently checked out to this user
Use the Search function [2] to find users by name, username, or employee number.
Adding Users
- Click "Create New" [1] in the top navigation
- Select "User"
- Fill in: First Name, Last Name, Username, Email, and Password
- Optionally assign a department, manager, and permission group
- Click Save
You can also import users in bulk from a CSV file using the Import section.
User Permissions
Snipe-IT supports role-based permissions. Users can be assigned to groups that control what they can view and modify:
- Super Admin — Full access to all features and settings
- Admin — Can manage assets and users, but not system settings
- User — Can view their own assets and request new equipment
- Custom Groups — Create your own permission sets for specific needs
Viewing a User's Assets
Click on any user's name to see their profile page, which shows all assets, licenses, accessories, and consumables currently checked out to them. This provides a complete picture of what equipment each person has.